

If you would like to make a simple pop-up octopus, you can follow along right here. You will need two sheets of cardstock, scissors, and glue.
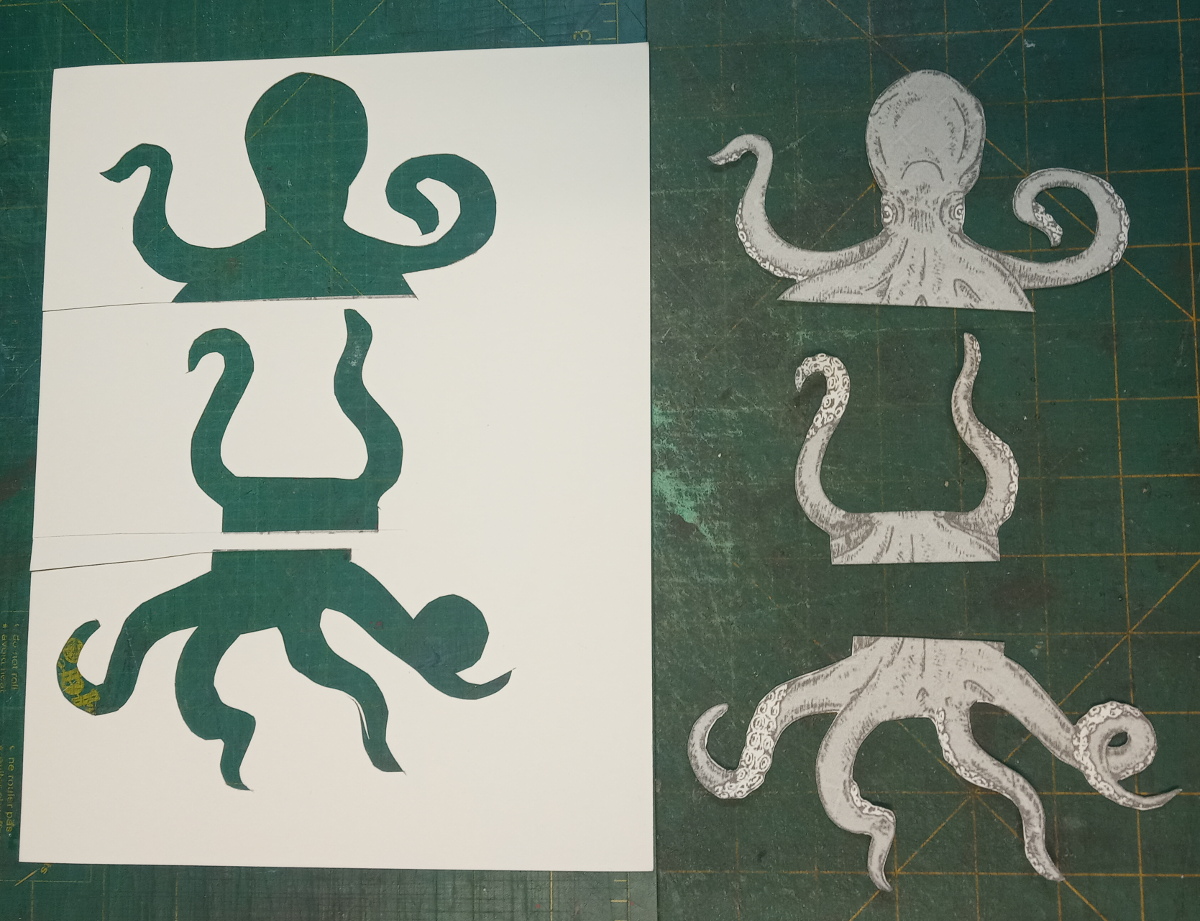
I created this 3-piece octopus image that you can download here as a PDF. This is a one-page document that you can print on standard printer paper though I recommend printing it on cardstock for added strength.
Follow these steps to make your pop-up card. You can click on the photos to make them larger if necessary.
Step 1
Download the PDF, print it, and cut out the three pieces.
Step 2
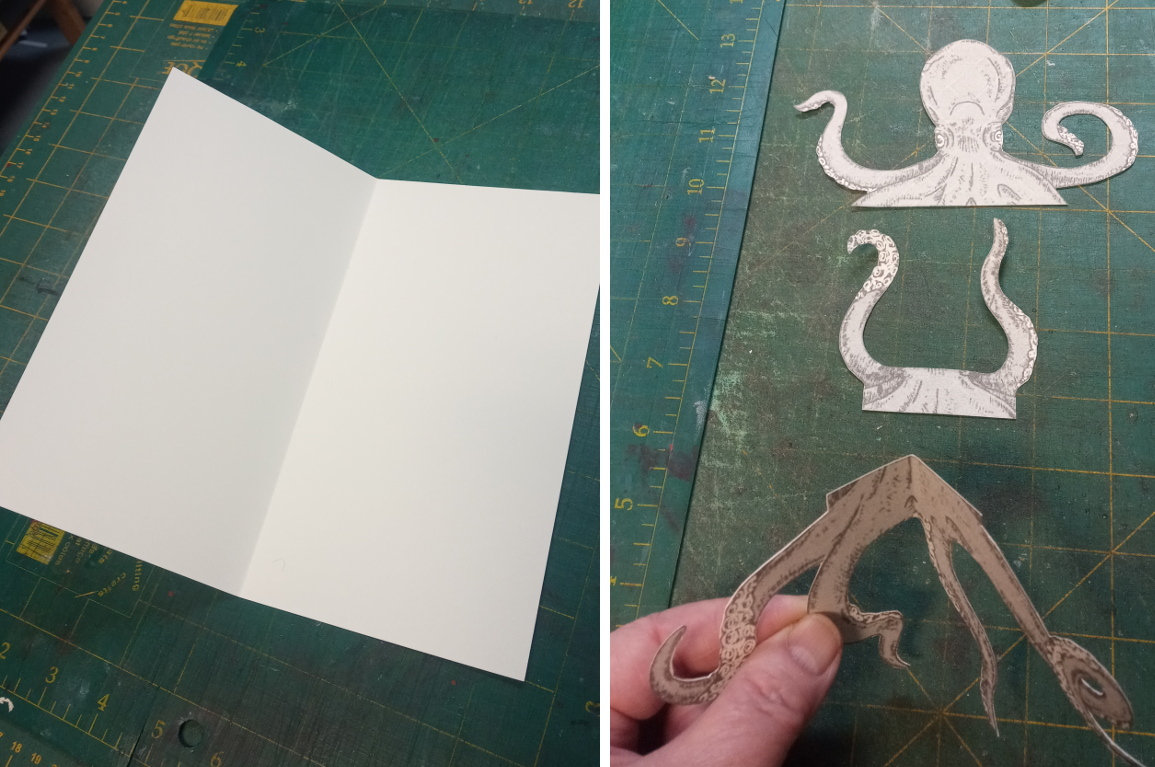
The second sheet of cardstock should be folded in half for the base. Starting with the 4-tentacled piece of the octopus, fold it in half as shown here.
Step 3
Apply some glue to the back of the 4-tentacled piece of the octopus and attach it to the base card. I pasted only the central part and left the ends of the tentacles loose, but you could glue it down entirely. Make sure the folds are aligned.

Step 4
The two other parts of the octopus need to be folded along the lines as shown in the following photograph.

Step 5
Fold as in the following photograph and cut the little corner bit off both pieces.

Step 6
On the back of these pieces, apply glue to the tabs as shown here.

Step 7
With the octopus head piece bent at an angle, as shown, attach it by sticking the tabs onto the card, overlapping the bottom half of the octopus that is already attached to the base. (The second photo here shows it from the back.) Make sure the centre folds are all aligned.

Step 8
The last piece is attached the same way, nestled in behind the head. Make sure the centre folds are all aligned.

Now when the card is closed, the octopus should fold flat, and it should pop up when the card is opened. Voila!

Card design and tutorial by Rhonda Miller
No comments:
Post a Comment